Today IS Halloween and if you were wanting to see this tutorial to do your nails for a party or for Halloween then I screwed up and I am sorry. I really wanted to get this done before today. :(
However if you wanted a year to practice doing your nails so you could have awesome nails for next year then this blog post is for you. ;)
First of all,
This is my first tutorial ever. If I leave anything out, Please ask me questions you have in the comments. I will answer them.
I didnt come up with the idea to do frankenstein monsters on my fingernails completely originally. I had the idea, but then I looked up some tutorials on Youtube.
Angie on the Goldiestarling channel has lots of great tutorials. Here are two that helped me out.


I also added eyebrows and a nose, because somthing was missing. everytime I changed something I put a top coat over the nail to seal the design. this lasted forever. It was kind of thick but it stayed pretty fresh.

However if you wanted a year to practice doing your nails so you could have awesome nails for next year then this blog post is for you. ;)
First of all,
This is my first tutorial ever. If I leave anything out, Please ask me questions you have in the comments. I will answer them.
I didnt come up with the idea to do frankenstein monsters on my fingernails completely originally. I had the idea, but then I looked up some tutorials on Youtube.
Angie on the Goldiestarling channel has lots of great tutorials. Here are two that helped me out.
Halloween Nail Tutorial Lil' Frankies
Halloween Cartoon Dracula Nails
Ok. Here we go!
Frankenstein's Monster
First, Here is what I used for this design:
Base coat
Green
White
Black
Black Stripe Rite Striping polish (Can find these at Sally Beauty Supply)
Top Coat

I didnt use the blue polish for the Frankenstein.
I did use it for all the other nails except the ring fingers and thumbs
Start with a basecoat.

Apply two coats of green polish and let it dry.

Then use the black polish to make hair, like an uneven french manicure.

Draw a thin black line with the striping polish. this is for the stitches.

Then start doing the stitches, like hash marks.


white dots for the eyes.
Just wipe off the sides of the brush to make sure there is not a huge glob of polish on the brush.

Both Eyes.

Then use the striping polish to make little pupils in the eyes.
(if you are really advanced, you can use the black polish to make the pupil dots)

Both Eyes.

Then carefully go over the top of the whites with the flat side of your green polish, to make eyelids.

I forgot to take a picture of me making the mouth. but I just used the striping brush, and drew a line.
Basically the same way I made the line on the forehead, but without the stitches.

Then apply a top coat. Make sure the design is dry before you put the top coat on. otherwise it will smudge.
Vampire:
This whole hand was difficult for me. I am very right handed. I have a hard time painting my nails on my right hand a solid color. so this design was worked and reworked and tweaked a lot.
Materials. Again, I didnt use the OPI Polish, I used the blue in the previous supply pic for the eyes.

Start with a basecoat.
Apply two coats of white polish.

try to make a cupids bow with the black striper. this was difficult for me. 

As you can see it can get a little messy. but just do your best.
you can always clean it up a little bit.


This one is a little cleaned up. Anyway, blue dots for the eyes.

Then I used the white to make white dots.
Then I tried to make collars for the cape.and then i drew a mouth line. it gets a little crazy here.

Just clean it up with some white.

and try again.


Then make droplets of blood on the vampires fangs. and again, You can touch up anything you don't quite like. like the mouth and collar here.

Then finish with a top coat when it's all dry.
I dont know where my brain was when I did all this. I didnt take a picture of my finished hands.
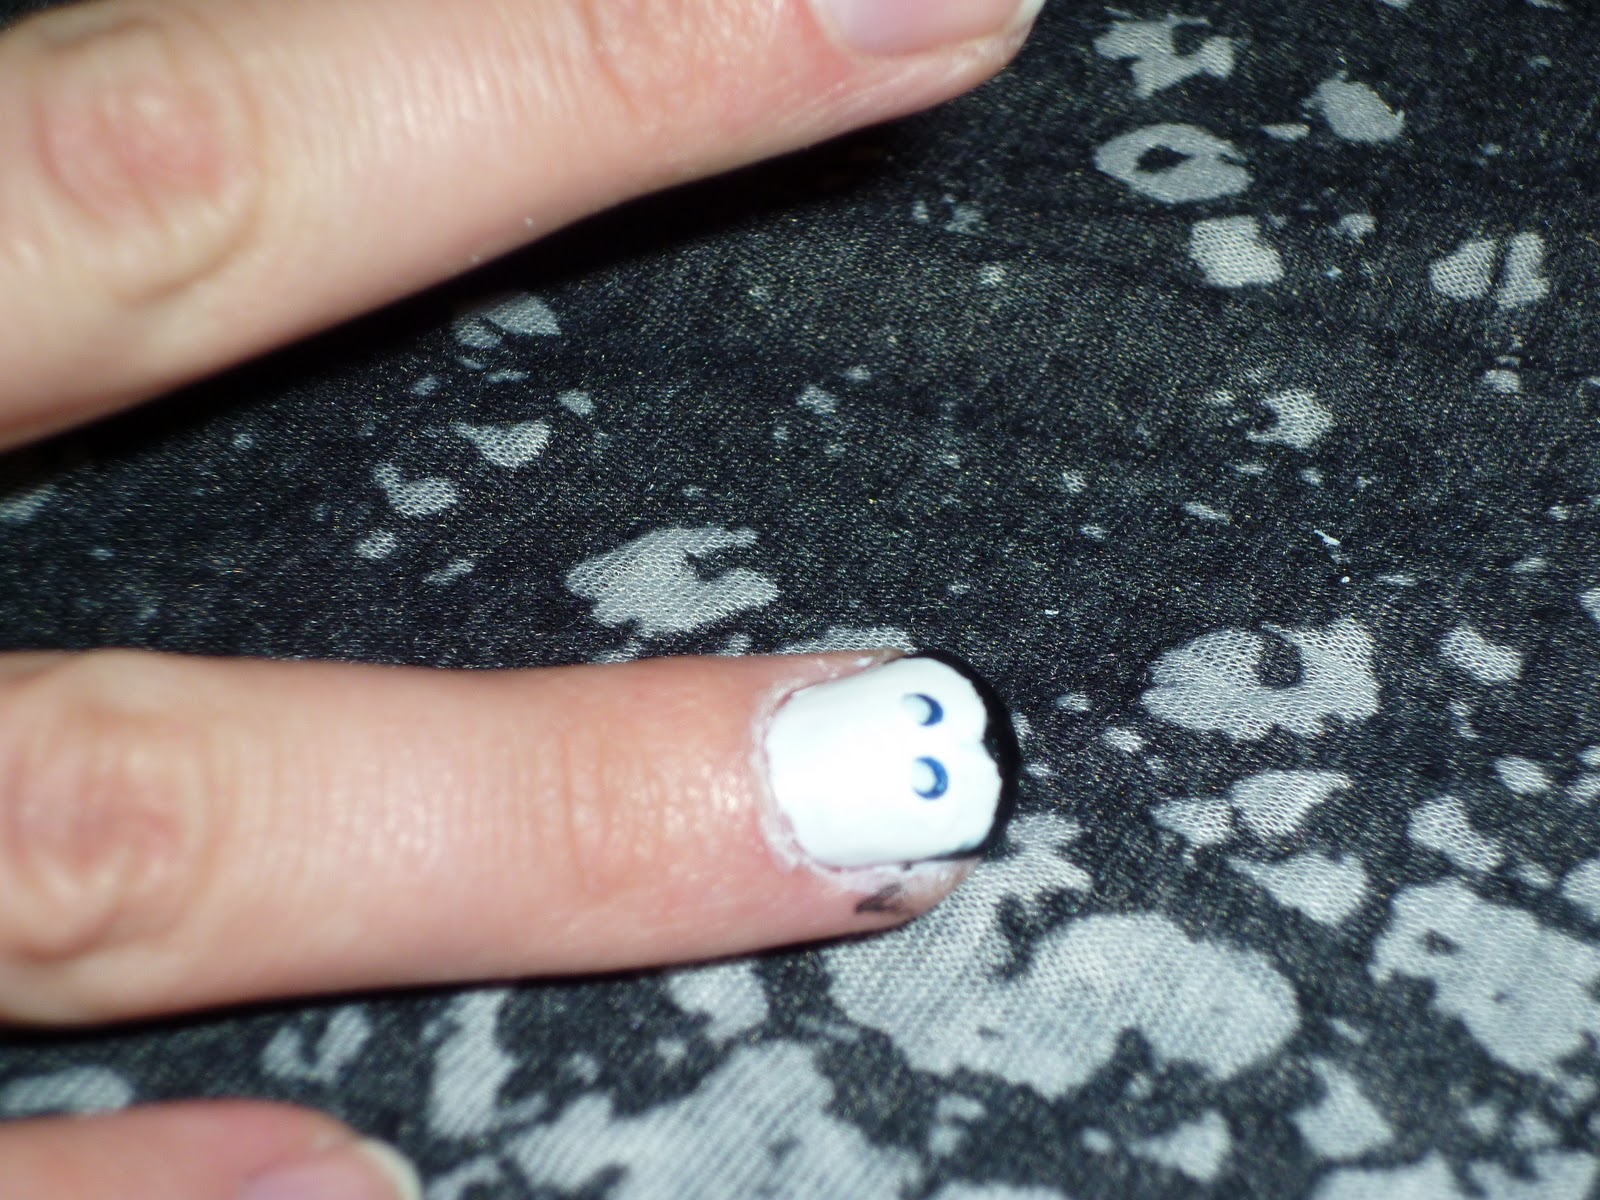
I have a few from a couple days later. I had changed the polish on my other nails, and did a ghost on my left thumbnail and a tombstone on my right thumbnail.
I have no pictures of the tombstone. =(

I also added eyebrows and a nose, because somthing was missing. everytime I changed something I put a top coat over the nail to seal the design. this lasted forever. It was kind of thick but it stayed pretty fresh.

Liz from Ihaveacupcake's youtube channel is really interesting.
This is where I found my inspiration. I will try to recreate mine and take a picture for you later.
Please let me know if you have any questions. Trying to get my camera to focus was challenging. Hopefully I can figure it out and do more of these for you..
Start practicing for next year! ;)
Happy Halloween!!!
<3 Whitney
No comments:
Post a Comment